Showing posts with label diy. Show all posts

DIY: Making New Furniture Look Old, Photo Booth Debut

I know it has been oh so long since I have posted, but it was for good reason!!!  Matt and I have been spending every waking moment working to relaunch our business!  The website is still under construction (View it here!), but our photo booth is up and running!  Now all we need to do is get our name out there!


Because my hunk of a husband has slaved away in building our beautiful photo booth, I wanted to share what it looked like along the way.  Now, I didn't take pictures in the beginning, but you'll get the idea.
 It was finished being built and ready for some paint.

 Instead of spending $35/quart for the famous Annie Sloan Chalk Paint, I decided to make my own.
1 C paint mixed with 1 TBSP non-sanded grout

 Mix really well!

 I only painted a single layer (the paint had a primer mixed in). This dried SO fast.
 I was very pleased. 

 Then I sanded down the edges to get that worn look.  The grout in the paint made this super easy to do.

Now for our antique glazing!  I mixed 1.5 TBSP with 2 tsp stain.  For a darker look, you can always add more stain.

 Slap it on with a brush (work in sections) and let set for 20 minutes.

After 20 minutes, wipe off.  The cool thing about this technique, is you can wipe off as much or as little as you would like.  You could also let it set for longer than 20 minutes to get a darker finish.  Once it had a couple days to dry completely, I sprayed on a clear coat and it was done! All that was left was the hardware for the faux drawers and the frame around the screen.

 Here it is in action!!!

If you, or someone you know, is getting married in Southern California, make sure to check out our one of a kind, Vintage Photo Booth.
We have a special going on right now, too!

Continue Reading...

DIY: Personalized Burlap Pillowcase

As promised, here is the second Valentines gift that is easy, cheap, and oh so cute. 
(If you missed the first gift, you can find it here) This can be extra special with a quote, saying, or verse that holds a special value to you and your valentine.  [This gift is great for any occasion because you can make it as personalized as you'd like!]


Materials:
Fabric (I used burlap, but you can use a linen or cotton fabric as well)
Scissors
Straight Pins
Sharpie
Stencil 
Yarn
Sewing Machine
Thread

Directions:

Measure your pillow.  (Mine is 12" x 16")  Determine amount of fabric to cut by multiplying the length of the long side (16")  by 2 (for front and back), and adding 4" for seam allowance and overlap. I cut my fabric 12" x  36".  


Because I used burlap, it didn't matter which way I laid the fabric, but if you are using a printed fabric, lay the fabric right side down with a short side towards you. For my pillow this was the 12" side. Measure and pin a 1/4 ".  Iron flat. On the other short side,  measure 1/2", pin, and iron. (This is the side that will show on the back of the pillow.) Sew both hems.


If you are using printed fabric, lay it with the right side up with the long side towards you. Fold the side with the 1/2" hem over  a little more than half-way. Fold the other side over so it overlaps the first side. Make sure your fabric measures from fold to fold the same as your pillow.
For my pillow, I folded each side over 9 1/2" and the fabric from fold to fold measured 16". Pin each side seam, and sew with a 1/2" seam allowance. Trim the seam allowance at each corner.


Turn each side right side out, and push the corners out.  Stuff in your pillow, and your just made your pillowcase!


Now onto the personalization.  I printed out my quote in a similar font and size as the letters on my stencil to better visualize the layout of my quote.  Then I tied yarn around my pillow as a guide...no one likes droopy words!  Use a sharpie and your stencil and color away!


You'll be done before you know it! :]


<3 Saleena 


Continue Reading...

DIY: Valentine Light Bulb

Lucky for those of you who have procrastinated  yet to find a gift for your valentine, my husband and I celebrated V Day early this year, so I can show you a couple homemade gifts that are sure to be a hit and won't hurt your wallet.  :]  The first gift I made is featured in this post.  I was inspired, of course, but something similar I saw on pinterest!


Materials:

Red thin gauge wire (available at craft stores)
Light bulb (any standard incandescent bulb with a regular size base will do..no fluorescent or halogen bulbs)
Pliers
Screwdriver
Safety goggles/gloves
Scrap piece of wood or wood cube (craft stores usually sell wood for crafts and would have a small square or chunky piece that would work)
2 pins
Paper and pen (or type written message)
Wire cutters
Hammer and nail (optional- if you are using soft wood these are not necessary)
Hot glue gun

Directions:

 Prepare a surface on a work table for hollowing out the bulb. I watched this video as a tutorial if you would like another demonstration than the one I put here. 

First, grip the  point and give it a good twist. You will free the brass contact break one of the wires leading to the filament.


Once the contact has been pulled out, carefully crack the glass insulator. The chips from this are quite pervasive, they get into just about anything in the area and they are razor sharp. Use caution.


Use the screwdriver to break the fill tube. 
You can now shake the filament assembly out of the tube.

Now the bulb needs a good cleaning!  I just used a paper towel and wire hanger.


And now you have a clear, cleaned out bulb!


 Now, cut a ten inch piece of wire to make a heart “filament”. Fold the wire in half to create a sharp crease, then unfold.


 About an inch from the crease, take both loose wire ends and loop both wires around to create the heart halves. Then pull both wires back down, overlapping the center of the crease and extending beyond the heart shape. You may want to tweak the heart halves a little to get heart shape that you like. Your heart should be about 1/2″ wide so it will fit through the base of the bulb pretty easily.


Take your filaments to your bulb and hold them up to see how long the stems need to be to have the heart filaments positioned in roughly the center of the bulb.  If your wood is soft enough, you should be able to poke the wire filaments down into the top of the wood and they will stay in position. If you are using a firmer wood, use a hammer and nail to create a small guide hole, then remove the nail and push the wire down into the hole. you may want to secure these with glue as well.

Fit your glass bulb over the filaments and glue the bulb down to the wood at the base with hot glue.  Use the pins to attach your love note or message to the front of the piece of wood.


And that's it!  Not only will your valentine love this homemade gift, but you can be proud of making it!  I know I was. :]  And don't let the disassembling of the bulb intimidate you...if was pretty simple. 


Continue Reading...

DIY: Pom Pom Garland

Here are a few easy steps to make your very own pom pom garland!

Materials:
Fork
yarn
scissors 
needle


Directions:

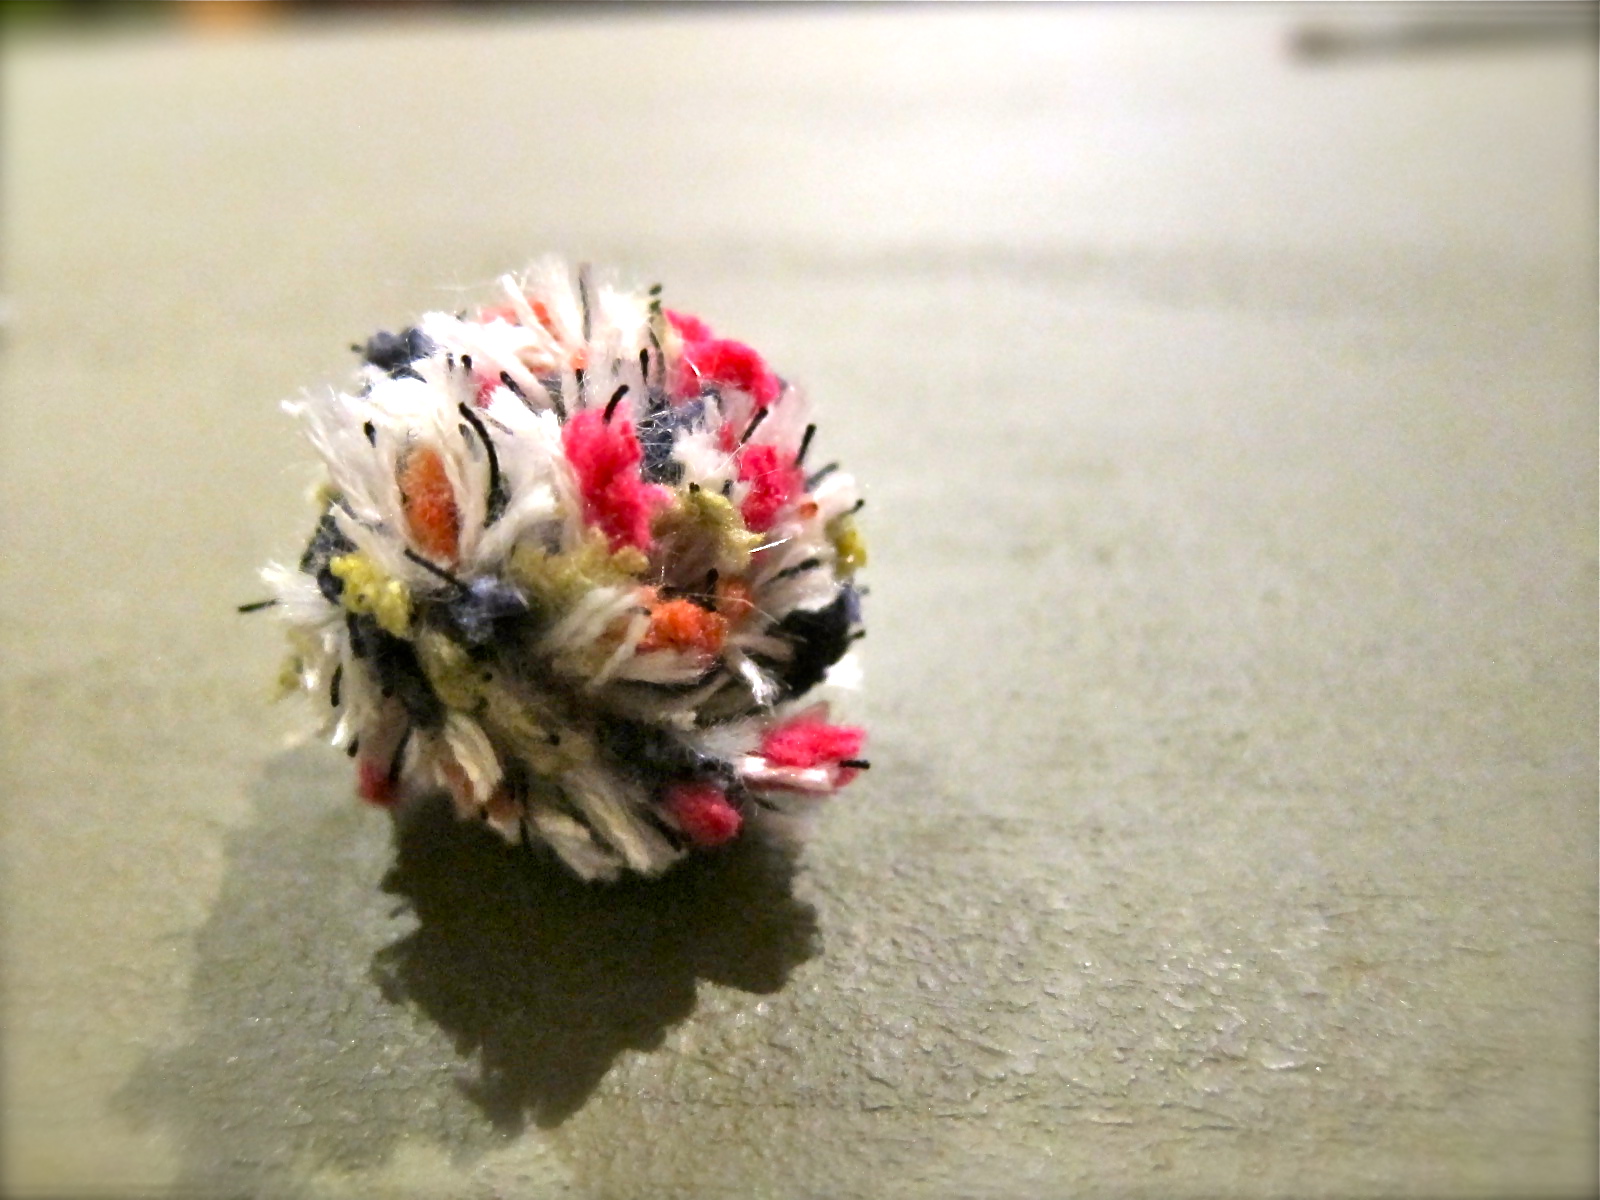
Step One:  Wrap yarn around fork and cut yarn.  The amount of times you do this will depend on (1) the thickness of your yarn and (2) how big you want your pom pom to be.  With this particular yarn, I wrapped it around the fork 35-40 times.  With a different yarn (which is pictured below), I wrapped it around the fork about 60-65 times for the same size.  

 Step Two:  cut a piece of string about 8in in length and fold in half.

 Step Three:  Pull folded string through the two middle prongs. 

Step Four: Wrap string around so both ends are on one side of the fork.  Tie the string once to hold yarn together, then remove fork and tie once more to make a secure knot. 

Step Five: Tie the string once to hold yarn together, then remove fork and tie once more to make a secure knot. 

Step Six:  Using scissors, cut looped yarn on one side of the knot so it becomes frayed.

 Step Seven:  Cut looped yarn on the other side of the knot. 

Step Eight: Trim your pom pom into a nice ball

 Step Nine: Repeat steps 1- 8 until you have reached the desired amount of pom poms.  (I made 48 of each kind) 

Step Ten: Using needle and yarn, string poms in alternating colors.  You can have them right next to one another, like so...

Or you can leave an inch or two between each one. 

Step Eleven: Put it on the tree :]

Even though this is time consuming, it doesn't take much thought once you get the hang of it.  I often made the poms while watching TV or a movie with the hubby.  

<3 Saleena 
Continue Reading...

DIY: Ruffled Christmas Tree Skirt

Finals are DONE! Whoohoo!  It's time for celebrating.  How to best celebrate freedom from studies? Crafting of course!  Christmas is right around the corner, and because it is our first Christmas together (meaning we have absolutely no decorations), I have a lot to get done! When I stumbled across this tree skirt on HGTV's website, I fell in love.  The best part?   IT'S NO SEW!  So anyone can do it.  :]


Materials:
4-1/2' x 4-1/2' piece of canvas
measuring tape
5 yards cream linen (Or whatever color you would like - even christmas patterned!)
sharp scissors
fray-blocking glue
3 1/3 yards ribbon
hot glue gun and hot glue sticks

Directions:
Using a tape measure, mark and cut a square of canvas that is approximately 4-1/2' x 4-1/2', then fold into quarters.


 Once into quarters, fold canvas over itself to form a triangle with the folded center at point. Cut base in a quarter circle.


 Cut a small quarter circle out of the point.

 Open the skirt until it's folded in half and cut along the radius on one side of the center hole only. This will provide slit in the fabric so the skirt can be placed under the tree. 


Apply no-fray glue along all raw edges and allow to dry. Tip: A canvas painter's drop cloth is an inexpensive material perfect for this project.

Using sharp scissors, cut linen fabric lengthwise into 2.5-3 inch-wide strips. A little tip?  If your flooring allows, use your grout line as a guide.  These strips don't have to be perfect.

Preheat hot glue gun. Apply a line of hot glue approximately 1 1/2 inches from outside edge of skirt. Create ruffles by pinching linen with fingers and pushing gathers down onto hot glue. 


 Continue this process around the entire skirt edge. 

 Start the next row approximately 1 1/2 inches above the previous row. 

Repeat this process until its all done!  Just be forewarned, this is a pretty time consuming project. But don't be discouraged, the result is well worth it!

Next, cut 10 pieces of ribbon into approximately 12-14 inch lengths. Use hot glue to attach ribbon to underside of tree skirt along slit created in canvas base. (For added strength, I stapled the ribbon first and then hot glued it to the canvas.  Be careful not to staple your ruffles! Because the bottoms of the ruffles are not glued down, you are able to staple underneath them). 

Evenly space five on one side of slit and five directly opposite.

Place skirt under tree and tie ribbons together in bows.

Isn't it gorgeous?  
I think so. :]

Posted on 

&
Craft & Tell
&
&
A Crafty Soiree
& 
FeaturedAtSBLC Thrifty Thursday Week 53
&
freckled laundry
 
&


Happy ruffling! 

Saleena <3

Continue Reading...
Related Posts Plugin for WordPress, Blogger...

Followers

Follow Me!

As you may know, Google connect will not be on blogger for much longer, so PLEASE follow me through Linky Followers!